Connecting Grok
Grok connects to nQuest as a custom connector. There is nothing to fill in beyond a name and your server URL, so this is a shorter setup than ChatGPT.
Before you start, copy your nQuest server URL. Open Preferences (macOS) or Settings (Windows) in the nQuest desktop app, go to the MCP tab, and copy the Server URL.
Step 1: Open Skills and Connectors
Section titled “Step 1: Open Skills and Connectors”Select Skills and Connectors in the left sidebar, switch to the Connectors tab, then select New Connector.
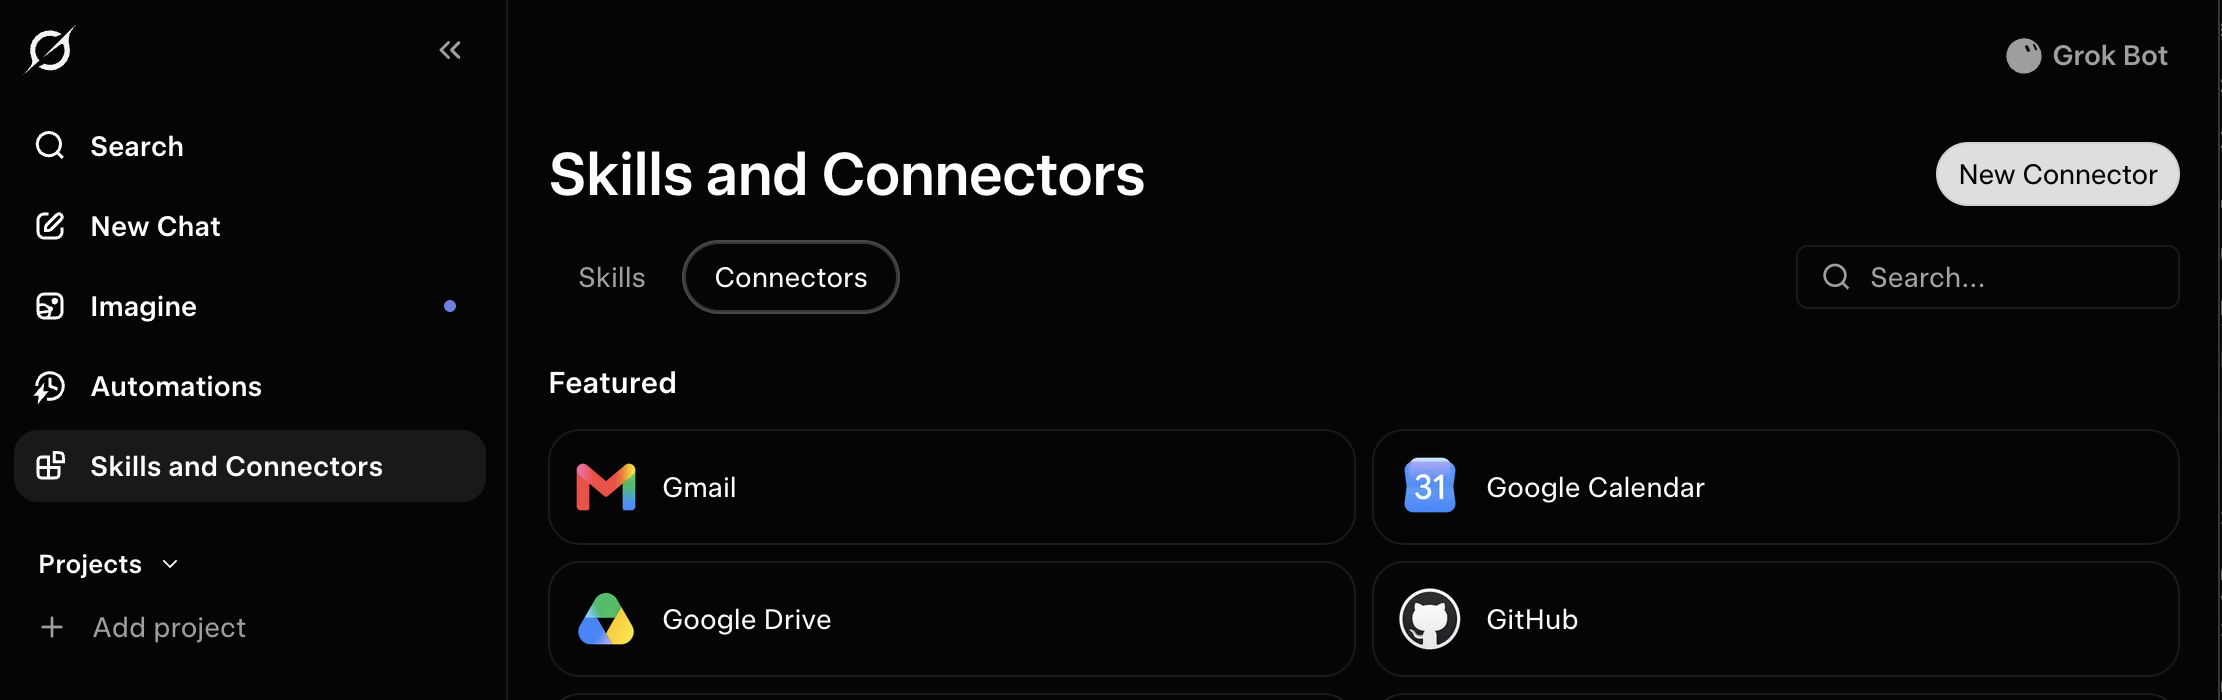
The Connectors tab, with the New Connector button
Step 2: Choose Custom
Section titled “Step 2: Choose Custom”Select Custom at the top of the list, above the featured connectors.
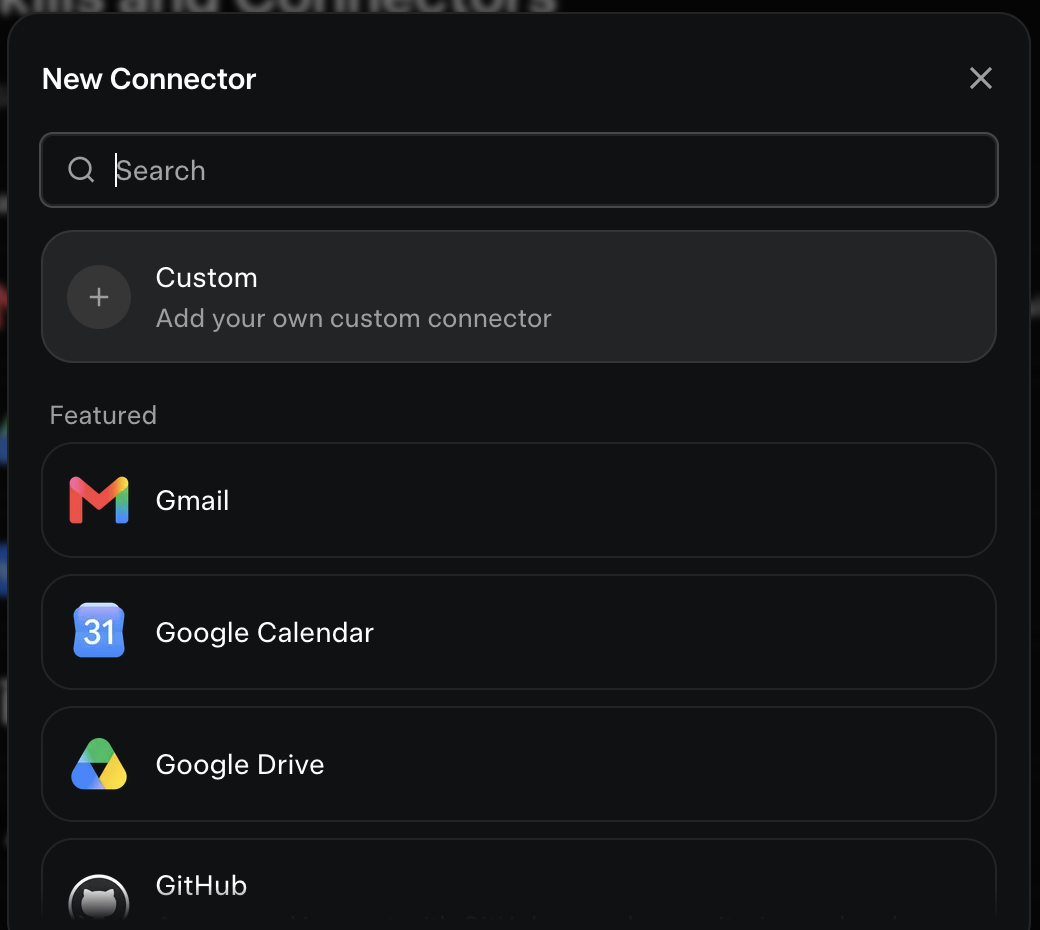
The New Connector dialog, with the Custom option
Step 3: Fill in the connector
Section titled “Step 3: Fill in the connector”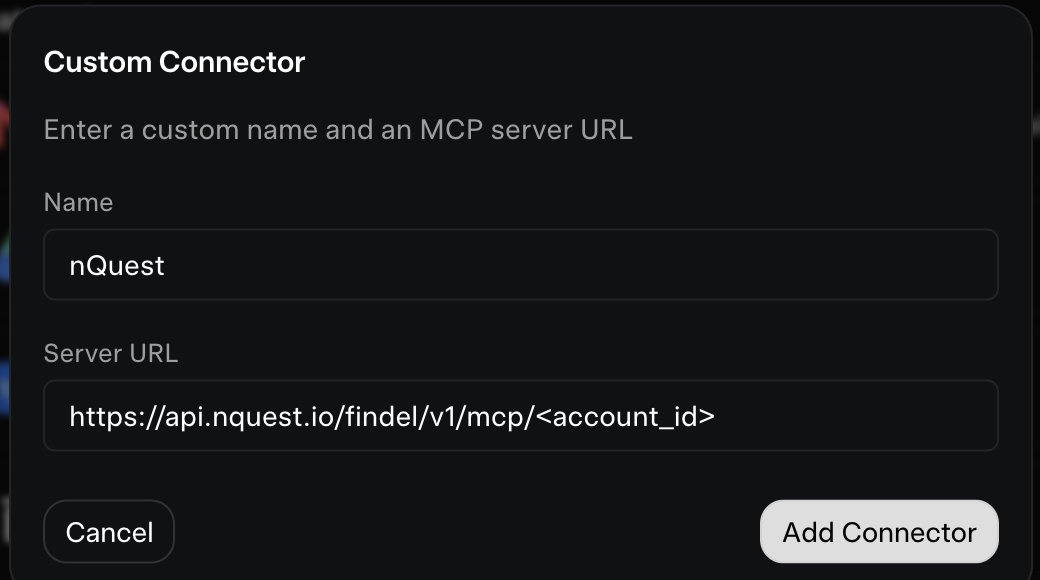
The Custom Connector dialog filled in
| Field | What to enter |
|---|---|
| Name | nQuest |
| Server URL | Your server URL from the nQuest MCP tab. |
Then select Add Connector.
Grok notes that xAI does not build or maintain third-party connectors. That applies to connectors in general: nQuest is read-only over MCP and cannot change your cases.
Step 4: Sign in and approve access
Section titled “Step 4: Sign in and approve access”Grok opens a browser window. Sign in with your nQuest account, the same way you sign in to the desktop app.
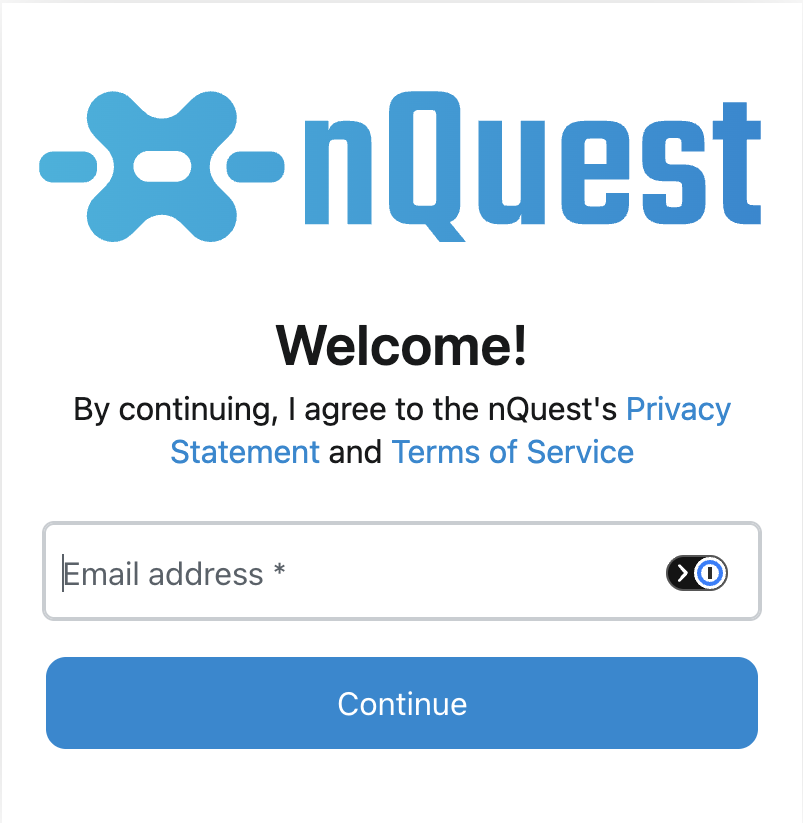
The nQuest sign-in page
nQuest then asks what you are granting. Select Authorize.
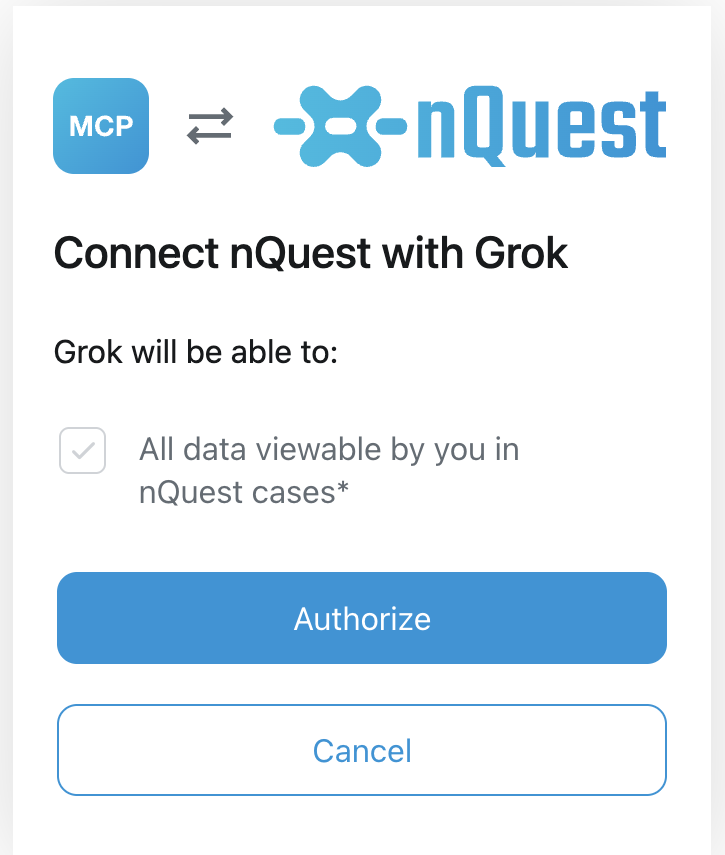
The nQuest authorization prompt for Grok
Once you authorize, Grok is connected. You will not be asked again unless you revoke access or the connection expires.
Step 5: Check the connector
Section titled “Step 5: Check the connector”The connector’s page lists the nQuest tools Grok can reach, all enabled to begin with, along with the server URL it is using.
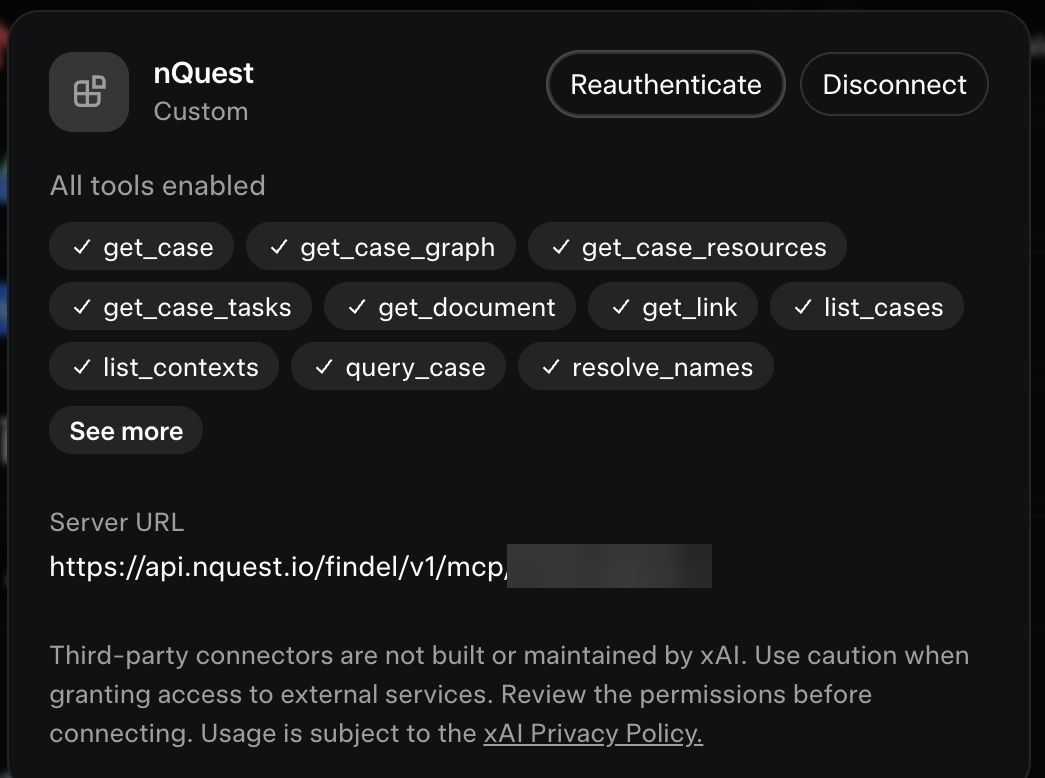
The connected nQuest connector, with all tools enabled
Unlike Claude, Grok does not ask before each tool call. Every nQuest tool is read-only, so this lets Grok read your case data as a question needs it rather than change anything.
Ask Grok in a new chat whether it can see your nQuest connector. It should confirm the connection and describe the tools it can reach.
Managing the connection
Section titled “Managing the connection”To disconnect Grok, open the MCP tab in nQuest Preferences and revoke it there. Grok cannot renew its session or sign back in without your approval, though it may still reach your data for a few more minutes until the access token it already holds expires.
Disconnect on the connector’s own page in Grok does the same from the other side, and also removes the connector.
Reconnecting after revoking
Section titled “Reconnecting after revoking”Revoking in nQuest does not remove the connector from Grok, so it stays in your list and stops working. To reconnect, open it from Skills and Connectors and select Reauthenticate, then sign in and authorize again as in Step 4.